
WHM is an abbreviation used in the hosting industry to name the Web Host Manager program which is a cPanel master management tool. It gives you a lot more control and flexibility when managing popular and resource-consuming sites, or a huge number of smaller sites. WHM also gives you the option to create and manage multiple cPanels.
It’s just easier to manage a website via cPanel. No matter how complex a website might be, cPanel provides a VPS or dedicated server with great features through which team members can manage your site. This includes maintaining an updated database, managing email accounts, and addresses, pooling multiple websites under one account, and monitoring site traffic, which helps you quickly troubleshoot and improve your website regularly.
There are two platforms: cPanel and WHM.
What is cPanel?
cPanel is an easy, scalable, and developer-friendly web hosting control panel that provides a GUI interface. This user interface enables you to perform all important settings. cPanel is outstanding for managing servers or configuring web hosting packages. It comes with 15 days of free license, but after that, every cPanel and WHM server requires its paid license.
Let’s see the step-by-step process to install cPanel and WHM on the Ubuntu 20.04 Server
1.Check System Requirements
For seamless and easy installation ensure your Ubuntu server meets the following minimum requirements:
| Requirement | Minimum | Recommended |
|---|---|---|
| Processor | 1.1 GHz | 2 GHz |
| Ram | 1 GB | 4 GB |
| Architecture | 64 bit | 64 bit |
| OS | Ubuntu | Ubuntu 20.04 LTS |
| Disk Space | 20 GB | 40 GB |
In addition to these requirements, you will need a static IP address and a fully qualified domain name (FQDN).
2.Update Your System
To ensure that all the existing packages have their latest versions, you should run the system update command before installing any server software platform.
sudo apt update
sudo apt upgrade
3.Switch to Root System and Disable the Firewall (Optional)
Now, you have the option of disabling the firewall which will make the installation process easier, however it could be unsafe. If you choose to not disable it, you have to later go through the process of opening some ports. You are going to have to access your root user. To do this run the following command:
sudo -i
Then you need to disable any previously activated firewalls, as they will interfere with the process of installation run these three commands in order:
iptables-save > ~/firewall.rules
systemctl stop ufw.service
systemctl disable ufw.service
4.Set up a Qualified Hostname
For proper installation, cPanel requires a FQDN (fully qualified domain name). Please ensure that you have set the hostname to the domain name that you are planning to use with it.
To check your existing hostname, Type:
hostname
Now, use the following command to make the hostname into a fully qualified hostname, let’s say we are going to make a new hostname with a single command (replace new hostname with your own chosen name):
hostnamectl set-hostname new-hostname
hostnamectl set-hostname yourserver.domain.com
You don’t need to even reboot with this method. To check if the changes are applied just run the following command:
hostnamectl
5.Run the Installation Commands
Now, that you have set up your own FQDN, it’s time to install cPanel on Ubuntu. This same procedure can also be used to install WHM on any Ubuntu Distribution. First, we need to create a Shell Session. This will make the session active despite any network issues. Log in using the root user and run the command:
screen
Now, let’s run the big one:
cd /home && curl -o latest -L https://securedownloads.cpanel.net/latest && sh latest
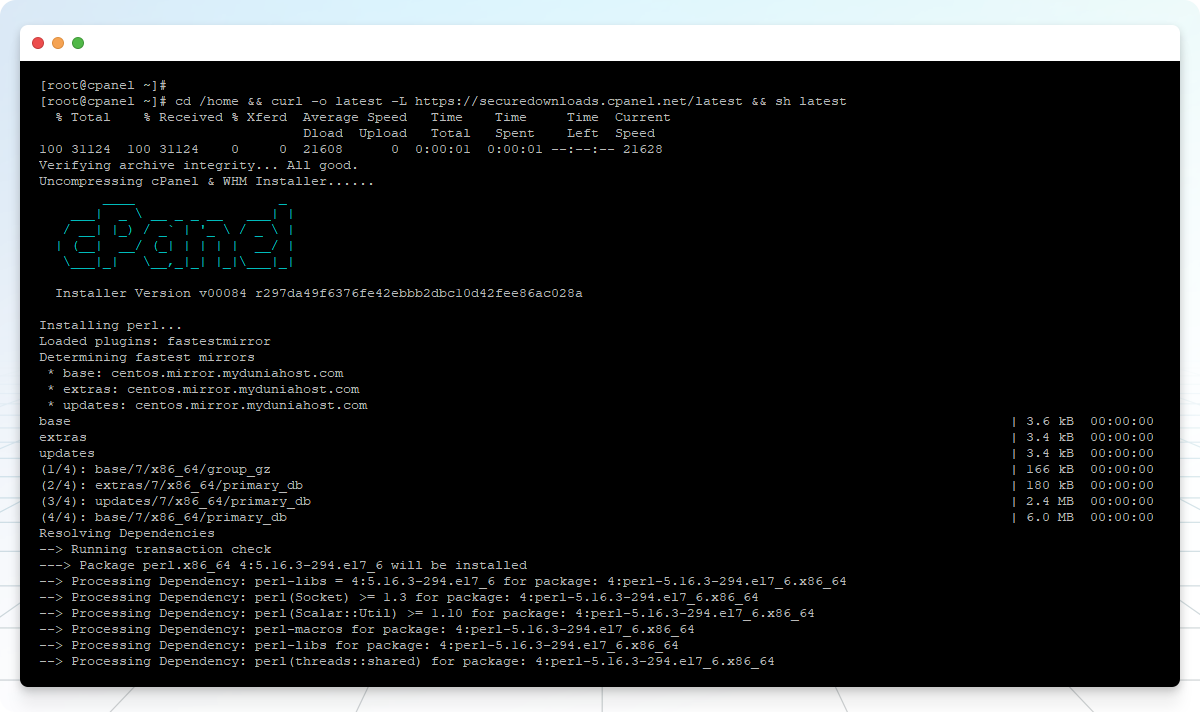
You should be greeted with this screen, which means the system is downloading and performing the installation which will take a few minutes.
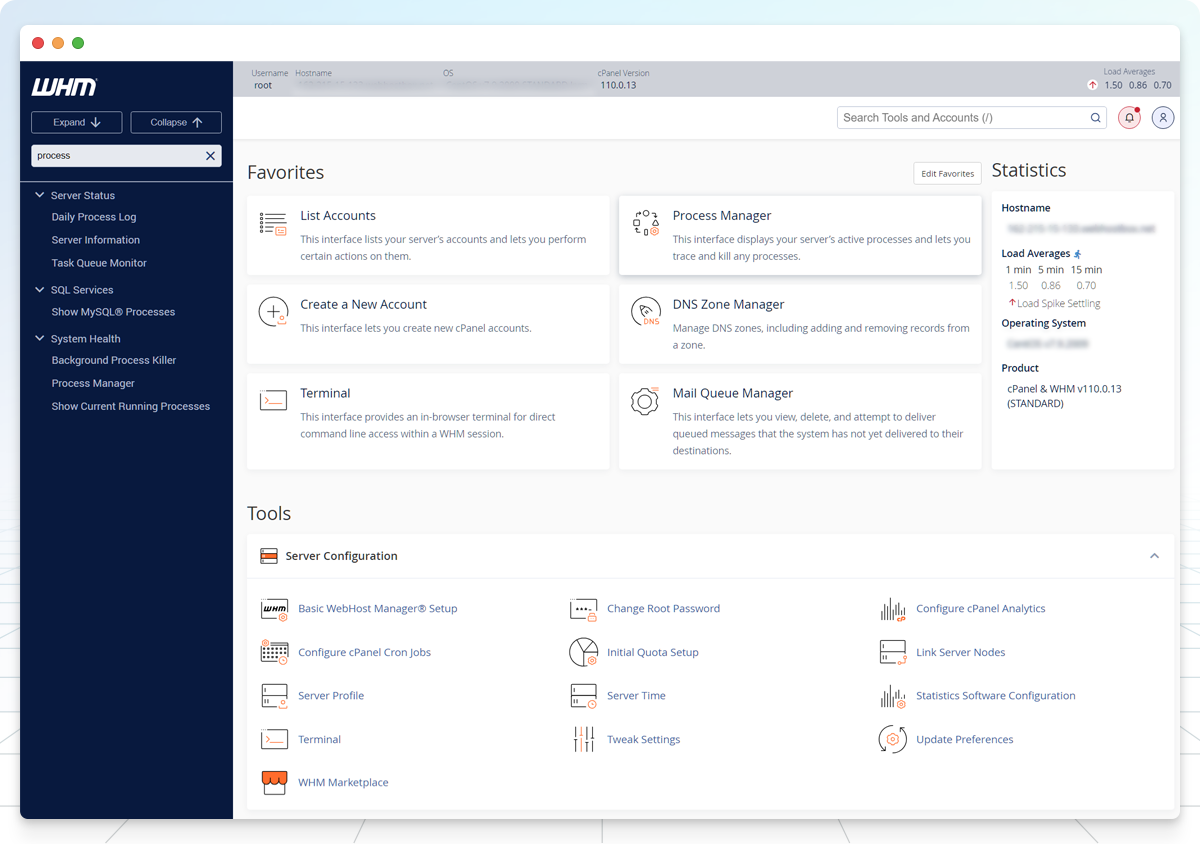
6.Now access WHM/cPanel
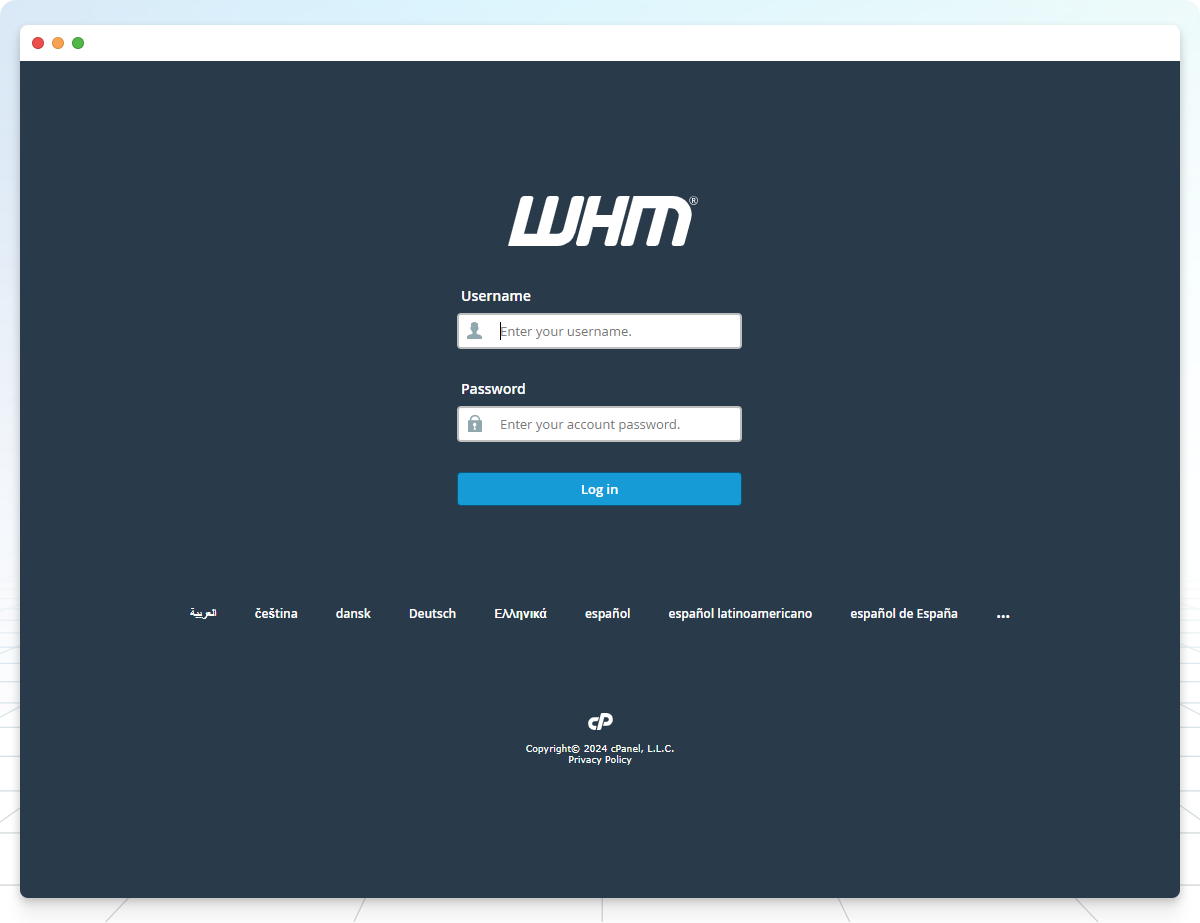
To access WHM in your browser type
Now we finally can launch cPanel and WHM. Make sure you’re on your root server and use the root username and password to log in when the following screen pops up:
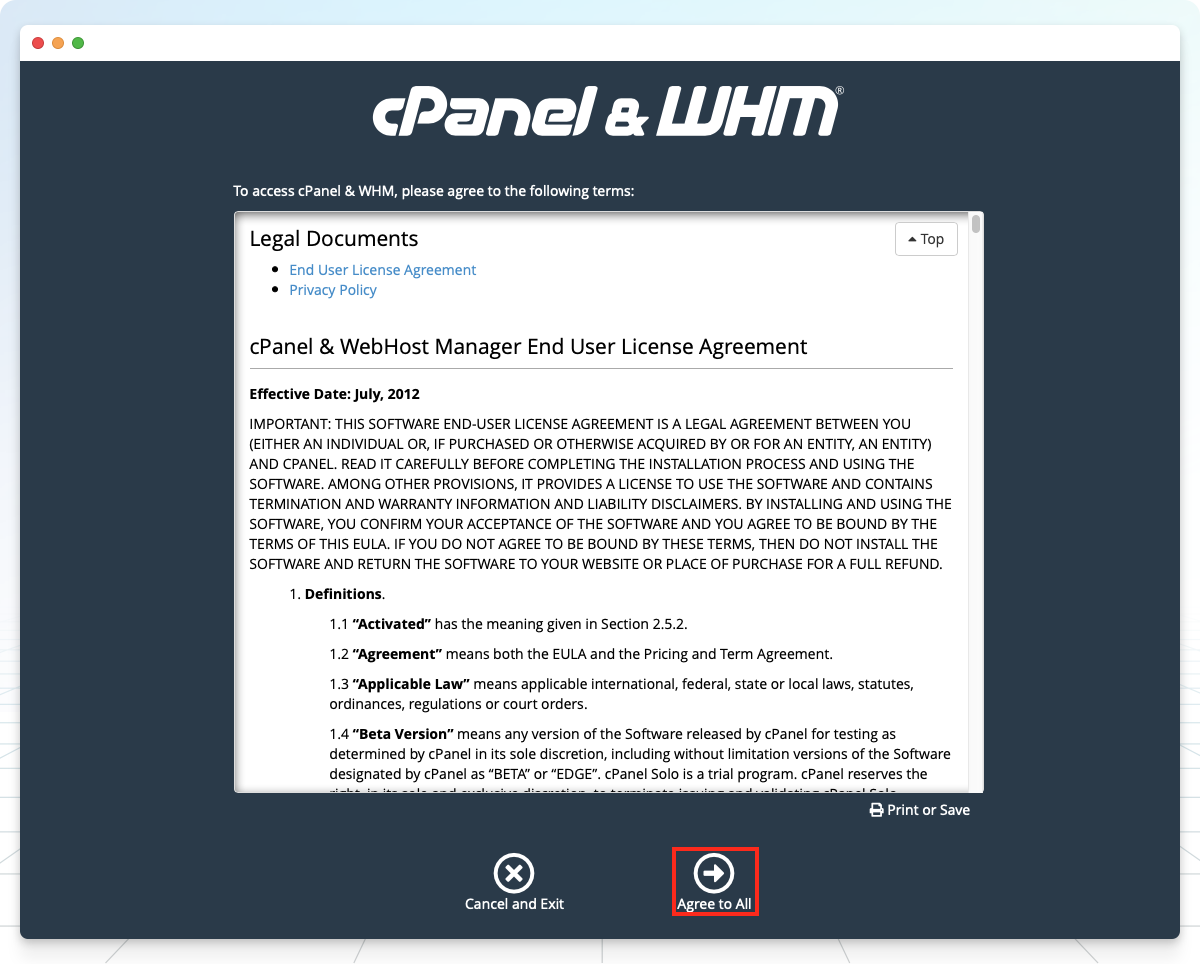
Read cPanel terms and select “agree to all”.
As you can see, it will ask you to log in to your cPanel Store account, which we will create now, so choose log in to continue.
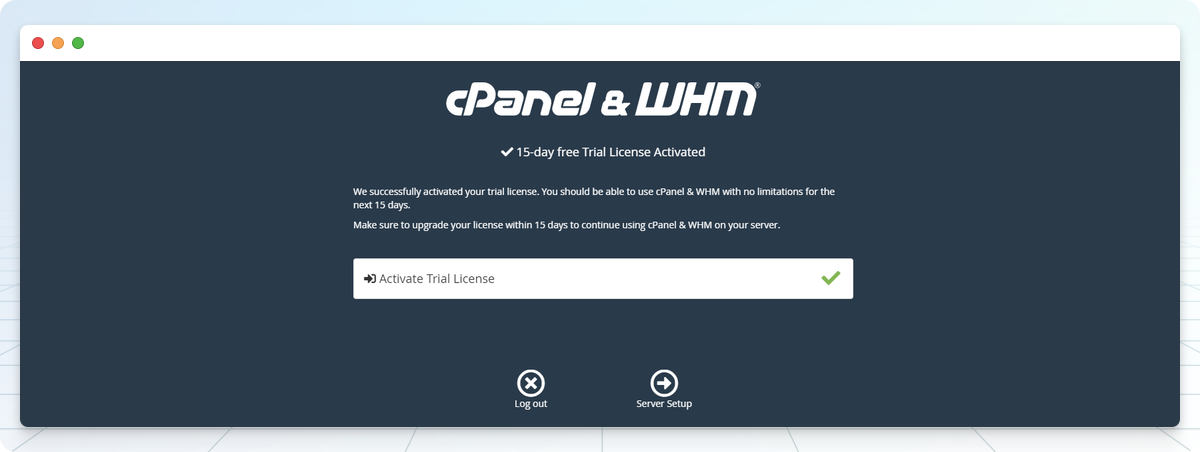
In this step, there are 2 options that we can choose from. To log in to your existing cPanel Store account if you have one, or to sign up for a new account.
That’s all you need to know about installing cPanel & WHM on Ubuntu 20.04. Just save the configuration to be taken to the WHM home page. In this way, you have finished the cPanel WHM installation. Start setting up a cPanel account and other settings.
WHM benefits for VPS hosting and dedicated servers:
Here are some of the most widely used benefits of the WHM for a private hosting machine:
- PHP Configuration Editor: view and configure your PHP settings. This is ideal for web developers and web software testers.
- FTP Server Configuration: configure your FTP server’s way of working
- Apache Configuration: easy Apache set up as a web server software and HTTP requests handling
- cPanel Web Disk Configuration: configure or edit the SSL/TLS cipher list for cPanel’s Web Disk feature
- Manage Service SSL Certificates: install new certificates on your web server. Reset your server’s certifications.
Conclusion
In this article, you learned How to install cPanel/WHM on Ubuntu 20.04. If you follow the above steps properly then you can smoothly install cPanel on any Linux distribution without any errors and enjoy managing your web hosting environment. However, do not hesitate to contact us if you encounter any problems. Enliven technical support team will try their best to solve your problems.


